Buy 1 standard 100 watt soft soldering gun . The cheapest (maybe 10 Euros), most basic model should be purchased with no controls other than the on-off trigger. This gun will contain a transformer which transforms the mains supply voltage down to a very safe 0.3 volts AC. This very safe low voltage can then cause a high current (100s of amps) to flow in a low resistance copper loop. The gun is supplied with a copper loop, plated to minimize corrosion, and will get hot enough to melt solder. Less power is required to melt polystyrene foam and so we can replace the loop intended for soldering with another loop with higher resistance (still copper wire but with less cross-sectional area, and/or a longer length). The higher resistance loop will cause less power to be dissipated both in the loop and inside the transformer and so this modification will not damage or overload the soldering gun.
Buy a couple of meters of mains wire, intended to carry around 40 Amps in normal use (e.g. European Electric shower cable) which has a bundle of 7 wires per conductor such that the copper bundle of 7 wires will have a diameter of around 3 millimeters and will fit into the low voltage terminal posts of the soldering gun.
If present, remove the white outer sheath that binds the live-neutral-earth together so that you can separate the individually colored insulated conductors. You will use just one of the individually colored insulated conductors.
The 2 raw ingredients, (i.e. the solder gun, and the individually colored
insulated conductor) are shown below.
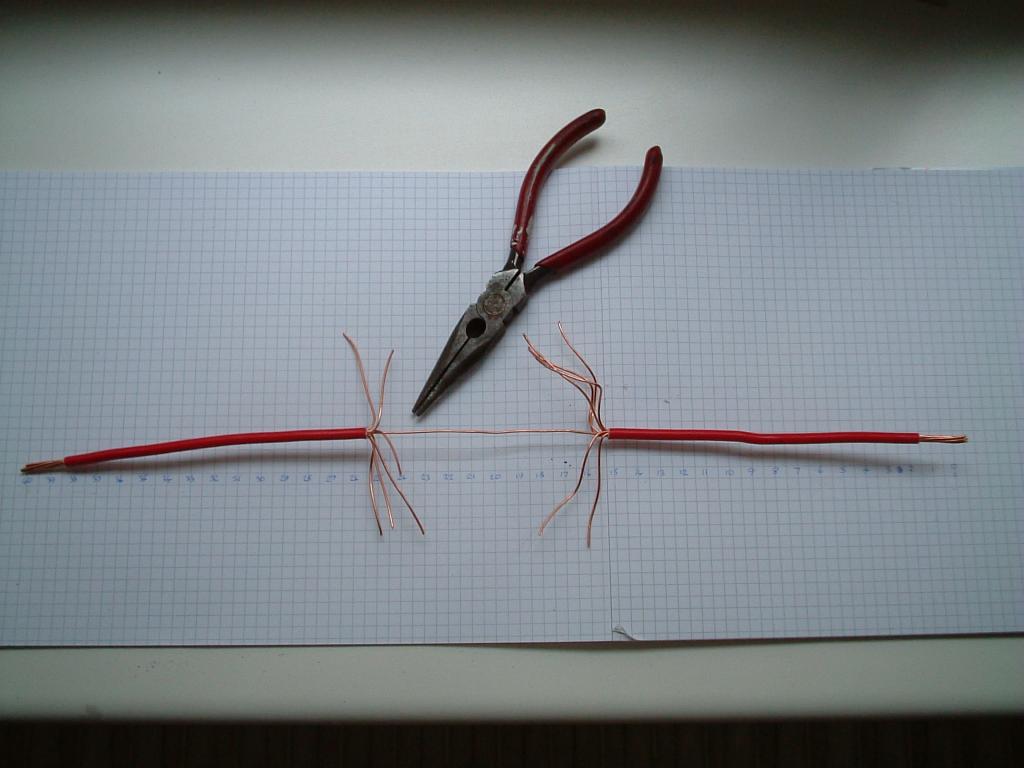
The example above uses a 40 cm length of wire. Strip the insulation
from the ends for 2 cm to allow insertion into the solder gun terminal
posts. Strip the insulation from the center 10 cm and cut the outer 6 of
the 7 wires leaving just the center wire intact. The conductor will now
have a high resistance section for the center 10 cm and low resistance
elsewhere. Ensure that each end of the conductor still has 7 wires and
that you have not accidentally pulled the center wire out.
The conductor should now appear as shown below.
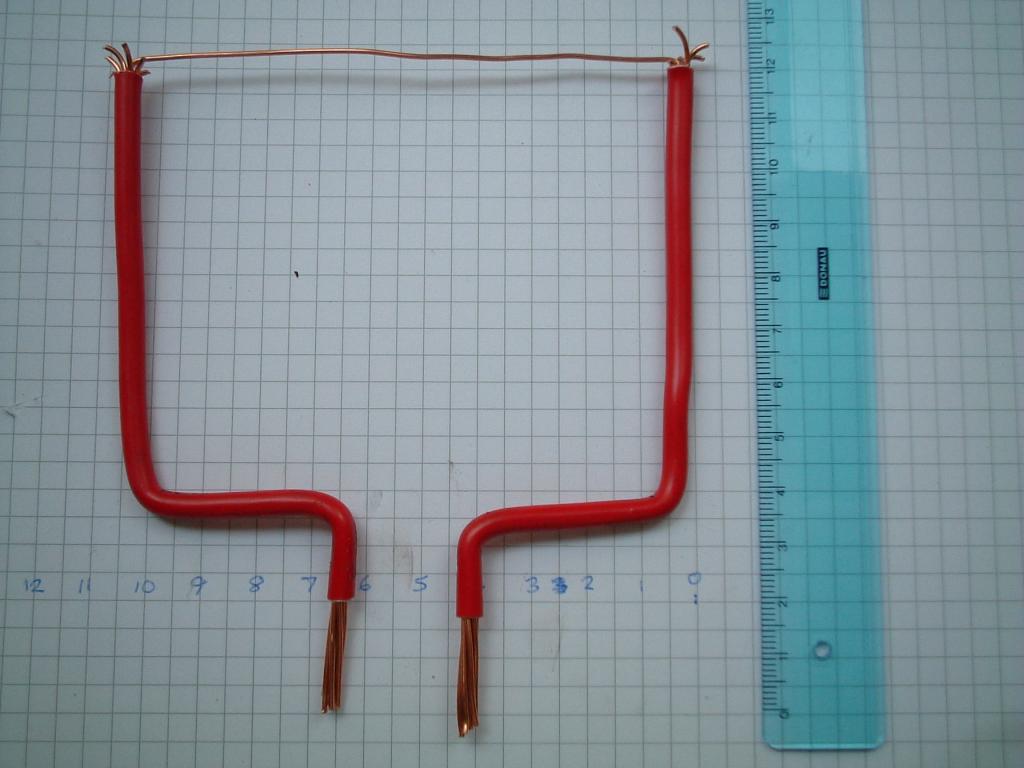
Cut off the unused wires from the center section, then bend the conductor
into an appropriate shape for connection to the solder gun terminal posts.
The final conductor loop will now look as shown below.
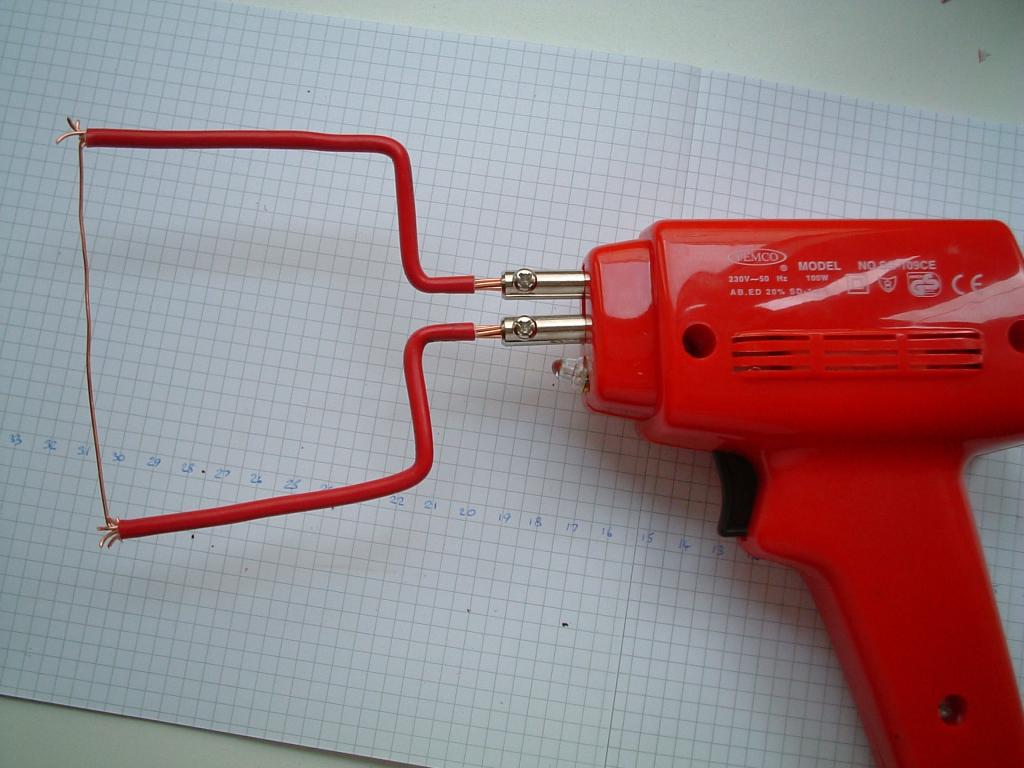
Connect the loop to the solder gun and tighten the screws of the terminal
posts. The hot-wire cutter is now ready for use and will look as shown
below.
If you are concerned, you can compare the AC voltage (with trigger pressed) at the terminal posts with the new loop fitted, with the voltage when the original soldering loop was fitted. If the voltage with the new loop is the same or higher that the voltage with the original loop then the power taken from the gun is not more that its design value and it will not overheat.
You can also construct a deeper loop (using 1m of conductor) for reducing
a large polystyrene sheet to more workable rectangles.
This loop is shown below.
You can download an mpg movie of the small loop in operation (348kb) or an mpg movie of the big loop in operation (481kb).
You can obtain an alternative source of high current/low voltage by
threading the 40 Amp cable once though the magnetic circuit of any > 100
watt transformer. (e.g. through the central hole of a toroidal transformer).
If attempting to use a 12V car battery you will need to use a much longer
(3 meters!) hot wire section, or switch the wire to a higher resistance
material (e.g. nicrome wire from an electric fire or hairdryer).